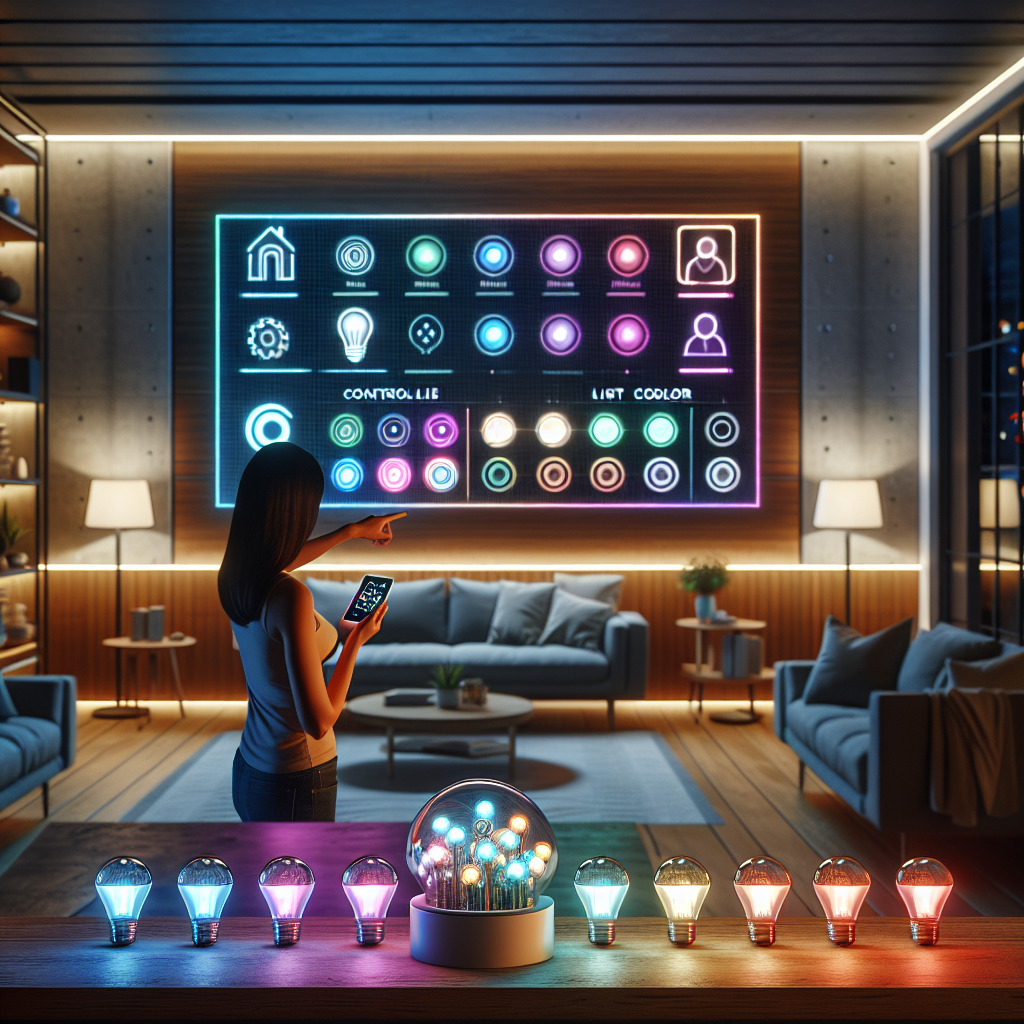
Smart house lighting combines LED fixtures with networked controls so lights can be scheduled, automated, and tuned for comfort and efficiency. This practical guide walks through bulbs versus switches, network and protocol choices, sensors and automations, safety tips, and product examples you can test in one room before scaling across your home.
Table of Contents
- Getting Started with Smart House Lighting
- Bulbs vs Switches: When to Retrofit with Smart Bulbs or Smart Switches
- In-Wall Modules, Dimmers and Relay Options (Neutral and No-Neutral)
- Wi-Fi and Cloud-First Bulbs: Simplicity vs Scale
- Local Mesh Protocols, Bridges and the Matter Roadmap
- Neutral Wires, Switch Loops and Multi-Way Circuits (Conceptual)
- When to Hire an Electrician and Code Considerations
- Dimming Behavior, CRI, Flicker and Driver Compatibility
- Manual Overrides, Power-Out Behavior and Testing
- Motion vs Occupancy vs Ambient Sensors and Placement
- Designing Automations, Avoiding Flapping, and Human-Centric Schedules
- FAQ: Quick Answers for Common Smart Lighting Questions
- Key Takeaways and Next Steps
Start Here: What This Guide Covers
One excellent option is the Wyze Bulb Color (1100-Lumen Wi-Fi RGB + Tunable White), which offers strong value and reliability.
Use this guide to choose hardware, plan safe installs, and pick networks and protocols for smart house lighting. It compares bulbs and switches, explains in-wall modules, sensors and automations, safety considerations, and practical product examples you can test in one room before scaling.
Another solid option is the Govee Smart Ceiling Light (RGBIC LED), a smart ceiling fixture that’s easy to deploy.
This guide also covers design patterns and cross-ecosystem integration so you can test one room, secure devices, expand with confidence, and iterate safely over time.
Getting Started with Smart House Lighting
Smart house lighting combines LED light sources and networked controls—smart bulbs, in-wall switches, relay modules, motion and ambient sensors, and hubs or bridges—to let you control and automate illumination. On a practical level there are two retrofit paths: swapping in smart bulbs for room-by-room upgrades, or replacing switches or adding relays for circuit-level control. Smart bulbs are fastest for renters or lamp-based lighting, while switches and relays give consistent manual control and work when one switch operates multiple fixtures.
Networks and protocols shape reliability and scale. Wi-Fi (Wireless Fidelity) bulbs speak directly to your router and are easy for a handful of devices. Zigbee and Z-Wave are low-power mesh protocols for larger device counts. Thread is a modern IPv6-based mesh that plays nicely with Matter, the new interoperability standard aimed at making devices work across vendors.
This guide explains what to check before buying, how to plan safe installs, and how to integrate sensors and automations. You’ll find a practical checklist for auditing circuits, notes on neutral wires and multi-way circuits, a primer on hubs and bridges, and product examples to illustrate choices. For instance, the Philips Hue Smart Light Bulbs Starter Kit (Zigbee with Hue Bridge) is useful when you want a robust mesh and accessories; the LIFX Color (A19, 800-Lumen Wi-Fi) shows how a hubless Wi-Fi bulb can simplify single-room installs; and the Wyze Bulb Color is a low-barrier Wi-Fi bulb for renters. Use the checklist, test one room first, and avoid doing wiring beyond your comfort level.
Bulbs vs Switches: When to Retrofit with Smart Bulbs or Smart Switches
Smart bulbs are the fastest way to get smart lighting. They are individual LED lamps that fit existing sockets and offer color, tunable white, and scheduling without changing wiring. For renters, single fixtures, or accent lighting, a Wi-Fi bulb such as the LIFX Color (A19 Wi-Fi) is a good fit because it requires no hub and delivers strong color and brightness from one bulb.
Smart switches and in-wall relays are better when multiple fixtures are on one circuit, when you need multi-switch control (3-way), or when you want reliable manual control that won’t be disabled by someone flipping a local switch. In older homes, dimmer interactions can be tricky: many LED bulbs don’t work well with legacy trailing-edge dimmers. If a dumb switch can cut power to a smart bulb, label the switch, add a switch guard, or consider replacing the switch with a smart switch or an in-wall module.
When using bulbs on a multi-switch or dimmed circuit, check compatibility lists and consider ecosystem starter kits like the Philips Hue A19 Smart Bulb (White & Color) if you want coordinated color and scene control. For circuit-level control, look for a switch or relay rated for LED loads and for multi-way support or companion devices.
In-Wall Modules, Dimmers and Relay Options (Neutral and No-Neutral)
In-wall modules (relay modules) sit behind the switch or at the fixture and let you keep existing switch caps while adding smart control. Compact modules can control power and provide energy metering; examples include Shelly 1 Relays and Fibaro Relay Modules. In many retrofit cases the driver inside LEDs and the dimmer type matter: use dimmers specified as LED-compatible.
Neutral vs no-neutral is a common constraint. Many modern smart switches need a neutral conductor to power their electronics; older homes often have a switch loop and no neutral in the box. Lutron Caseta supports no-neutral installs in many models. If you prefer replacing fixtures, a ceiling fixture that is smart by design—like the Govee Smart Ceiling Light (RGBIC)—can avoid complicated switch wiring.
Safety first: avoid step-by-step wiring instructions unless you are qualified. If you are uncomfortable with live wiring, hire a licensed electrician. Use compatible devices, confirm UL listing where required, and ask an electrician to verify box fill and load ratings.
Wi-Fi and Cloud-First Bulbs: Simplicity vs Scale
Wi-Fi bulbs connect directly to your router, so setup can be simple: install the bulb, use the vendor app, and start scheduling. The advantages are clear for small installs and renters—no hub needed, quick setup, and easy phone control. The Wyze Bulb Color is an example of a Wi-Fi A19 bulb that works well for single-room projects because it pairs to an app without extra hardware. The LIFX Color (A19) shows how Wi-Fi bulbs can deliver high color quality without a hub.
Drawbacks appear as the number of devices grows. Wi-Fi bulbs increase load on routers, particularly on the 2.4 GHz band, and some vendors rely on cloud services for key features. To scale, use best practices: put IoT devices on a separate SSID or VLAN, use strong unique passwords, and reserve IPs via DHCP reservations or set static IPs for critical hubs. If your router shows congestion, consider a mesh system or a local-first hub approach for reliability.
For larger installs, weigh ease of setup against long-term reliability and local control needs. Wi-Fi bulbs are a solid starting point, but plan network segmentation and firmware updates as part of regular maintenance.
Local Mesh Protocols, Bridges and the Matter Roadmap
Mesh protocols like Zigbee, Z-Wave, and Thread create local networks where devices relay messages to extend range and reduce single-point failures. Zigbee and Thread use 2.4 GHz; Z-Wave uses sub-GHz bands and often has better single-hop range. Mesh reliability depends on device placement: put powered mains devices in key positions to create strong mesh links rather than relying on battery sensors alone.
Bridges and hubs connect the mesh to your local network. The Philips Hue Starter Kit, for example, includes a Hue Bridge that gives reliable Zigbee connectivity and local scene execution. For local automation platforms, consider hubs such as Hubitat Elevation, which runs automations locally and reduces cloud dependence.
Matter is an emerging interoperability standard designed to let devices from different manufacturers work together. Choosing Thread-capable devices and a Matter-capable border router can future-proof setups. If interoperability and local control matter, prefer devices that support local APIs or Matter, and ensure your chosen hub supports them.
Neutral Wires, Switch Loops and Multi-Way Circuits (Conceptual)
Many older homes use a switch loop where the neutral is absent from the switch box. Smart switches that require a neutral need reconsideration in those boxes. Conceptually, a neutral provides a return path for the small amount of power a smart switch needs to run its electronics. If no neutral is present, options include using a no-neutral smart switch, adding an in-fixture relay, or using smart bulbs.
Multi-way (3-way or 4-way) circuits let two or more switches control the same light. Approaches include paired smart switches designed for multi-way wiring, adding an in-fixture or in-box relay that lets the original switches act as scene or dumb toggles while the relay controls the load, or switching to smart bulbs so manual switches are fixed on or use switch guards. For tricky multi-way situations, in-fixture relays or behind-the-switch modules often simplify wiring and preserve manual control without major rewiring. When in doubt, consult an electrician.
When to Hire an Electrician and Code Considerations
Hire a licensed electrician when you encounter unfamiliar wiring, broken or loose connections, unclear circuit labeling, outdoor fixtures requiring weatherproof wiring, high power loads, or when permits are required. Other clear indicators include replacing a switch in a box with unknown contents, or adding relays where box fill and conductor sizing matter.
Common code and safety items to keep in mind: box fill limits (too many devices in a box can be illegal or unsafe), ingress protection (IP) ratings for outdoor fixtures, verifying switch and dimmer load ratings for LED drivers and inrush currents, and confirming UL or equivalent certification. Document circuits, label wires clearly, and shut off the correct breaker before any work. If a job requires running new cable or changing the service, an electrician is essential and may also help secure required permits.
Dimming Behavior, CRI, Flicker and Driver Compatibility
Dimming performance depends on bulb lumens, LED driver quality, and the dimmer type. Color Rendering Index (CRI) is a measure of how accurately a light shows color compared with a reference source; CRI ≥ 90 is recommended for color-critical tasks like cooking or hobbies. Also check TM-30 specs if available for more detailed color fidelity.
To reduce flicker, match bulbs to dimmers that the manufacturer lists as compatible. Test a sample bulb on your dimmer before replacing many fixtures. For high color quality and good dimming with minimal flicker, the Philips Hue A19 Smart Bulb (White & Color) is widely used for tuned white and color scenes because of strong ecosystem dimmer compatibility when used with a bridge. The LIFX Color (A19) is an example of a Wi-Fi bulb with high color output that often shows good CRI in real rooms.
Use simple measurement tools to validate performance: an Extech LT300 lux meter for illuminance checks and a P3 Kill A Watt power meter for power measurements. Always consult manufacturer compatibility lists and consider buying a single test unit before bulk purchases.
Manual Overrides, Power-Out Behavior and Testing
Design for fail modes: manual switches should still operate lighting when the network is down, and critical lights should be controllable during power outages using manual overrides or a basic UPS for controllers. For bulbs, decide whether local physical switch control is acceptable or if you prefer switch guards to prevent accidental cutoffs.
A short testing checklist helps validate expected behavior:
- Confirm local control works without cloud access.
- Test behavior during a simulated network outage (disable Wi-Fi or hub network).
- Test power-outage recovery: cut power and restore; confirm lights return to the expected state.
- Exercise multi-switch scenarios and scene recalls manually and through automations.
- Label physical switches with expected behavior for occupants.
Document expected behavior in a simple note for household members so everyone understands how to use manual overrides and automations.
Motion vs Occupancy vs Ambient Sensors and Placement
Motion sensors detect movement as events; occupancy sensors maintain state (stay on while someone is present). Choose occupancy sensors for rooms where people may be still (offices, living rooms) to avoid lights turning off mid-use. Motion sensors are good for hallways and quick triggers. Ambient light sensors measure daylight so lights only turn on when needed, a technique called daylight harvesting.
Placement best practices: mount sensors at the manufacturer-recommended height, aim them so the primary field of view covers doorways and main activity areas, avoid pointing at windows or heating vents that cause false triggers, and keep sensors out of direct sunlight. Test placement before final mounting.
Examples of common sensors include the Philips Hue Motion Sensor and the Aqara Motion Sensor. For an integrated ceiling fixture that pairs with sensors and routines, the Govee Smart Ceiling Light (RGBIC) shows how a fixed smart fixture can be part of sensor-based automations; test sensor placement before finishing installation.
Designing Automations, Avoiding Flapping, and Human-Centric Schedules
Reliable automations use conservative timeouts, multi-condition triggers, and gradual transitions to avoid “flapping” lights that turn on and off rapidly. Use combined triggers (motion + ambient light) to reduce false positives, and set timeouts that match room use (longer in living rooms, shorter in bathrooms). Apply gradual fade transitions for scenes instead of instant jumps to improve perceived quality.
Human-centric lighting uses tunable white (correlated color temperature, CCT) to align light with daily rhythms—cooler/bluer light during the day for alertness and warmer light in the evening to support winding down. Follow photobiological safety guidance when using bright spectral tuning; avoid extreme levels and prefer vendor guidance. Start with conservative circadian schedules and adjust based on occupant feedback. Test automations with household members, iterate, and document preferences so schedules fit real use.
FAQ: Quick Answers for Common Smart Lighting Questions
- Bulbs vs switches? Bulbs are fastest for renters and single fixtures; switches or relays give circuit-level control, consistent manual behavior, and are better for multiple fixtures on one circuit. See the “Bulbs vs Switches” and “In-Wall Modules” sections above.
- Do smart switches need a neutral? Many do; if your switch box lacks a neutral, use a no-neutral model or an in-fixture relay. Options include Lutron Caseta.
- How to handle 3-way circuits? Use paired smart switches designed for multi-way wiring, add a relay at the fixture, or use smart bulbs and convert switches to remote or fixed-on controls. Consult the “Neutral Wires” section.
- Will smart lights work during a power outage? If mains power is out, lights will not work unless fed by a backup power source. Design critical exterior or safety lights with manual circuits or backup power.
- How to make lighting local-first and private? Use a local controller such as Hubitat Elevation or Home Assistant (local software) to run automations on your LAN, reduce cloud reliance, and limit external exposure.
- Which dimmers avoid flicker? Use LED-compatible dimmers and consult compatibility lists. Test one bulb with your dimmer before buying many. See “Dimming Behavior” for measurement tools.
- How to place motion sensors? Mount to cover entrances and main activity zones, avoid windows and vents, and test sensitivity and timeout parameters in real use.
For simple, hubbed ecosystems, consider the Philips Hue Starter Kit, which provides a bridge and a mature accessory ecosystem.
Key Takeaways and Next Steps
Smart house lighting delivers energy savings and better quality of life when you plan and test. Start with an audit: map circuits, note which boxes have neutrals, and list rooms by priority for automation. Decide bulbs versus switches based on tenancy, multi-switch circuits, and manual control needs. Choose a network strategy: Wi-Fi for small installs, Zigbee/Thread/Matter and a bridge for larger, local-first systems.
A compact checklist to move forward:
- Audit circuits and switch boxes; label them.
- Choose bulbs for quick, room-level upgrades or switches/relays for circuit control.
- Pick a network plan (Wi-Fi for a few bulbs, Zigbee/Thread + bridge for many devices). The Philips Hue Starter Kit helps establish a reliable Zigbee mesh with a bridge.
- Buy a small starter kit or a few Wi-Fi bulbs and test in one room. Use a lux meter and power meter (see the Extech LT300 and Kill A Watt tools above) to measure results.
- Tune sensor placement and automation timeouts with occupants to avoid flapping.
- Secure the network: separate SSID/VLAN for IoT, strong passwords, firmware updates.
- Measure lux and power use, track savings, then iterate.
A recommended small pilot is one frequently used room or an exterior light for safety. Expect immediate convenience gains and measured energy savings over time. Focus on local control where latency, privacy, or safety matter, test thoroughly, document behavior for household members, then expand. Design, test, and expand the system as you learn—smart lighting improves over time with careful tuning.
Leave a Reply